Documentation Home > Exchange Custom Sender
 Installing the Outlook Add-in
Download the appropriate version for the version of Outlook you are using. Remember that even on a 64-bit platform, the 32-bit version of Office is normally used. The x64 version should only be used with the 64-bit version of Office. With a 32-bit version of Office on a 64-bit operating system, use the x86 version.
Ensure that Outlook is completely closed with the notification area icon not visible, before proceeding.
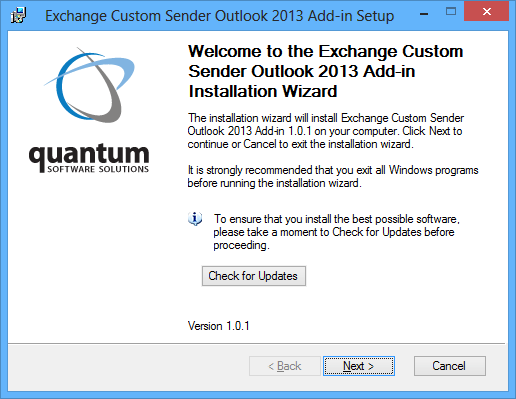
Run the installer by clicking through the wizard. There are no installation options other than the destination folder.

One the setup has completed successfully, restart Outlook and open a new mail message. If the add-in has loaded successfully, the new section on the ribbon named Exchange Custom Sender could be displayed.
The From Address button displays a drop-down menu of the addresses available to the user.


The Options Dialog additionally allows the Default From address to be set by the user (Note: this does not override the setting on the mailbox in Active Directory / Exchange and applies to Outlook only), and a different signature to be associated with each address. The Logging tab is for troubleshooting use if you need to contact Technical Support.

If the Outlook Add-in is not displayed on the ribbon of a new mail message, open the Outlook Options dialog by selecting File, Options.
Verify that the add-in QSS Exchange Custom Sender Outlook Add-in is shown in the list under Active Application Add-ins. If it is shown under Inactive Application Add-ins, select COM Add-ins in the Manage list at the bottom of the dialog and click the Go button.

Make sure there is a tick beside the add-in in the COM Add-ins dialog.
